
So my really talented buddies over at gtroblq.com have managed to instill such a lust for microtones in me that I decided to take my beloved (albeit, cheap) Fernandes Retrorocket X and convert it into a fretless guitar. Now, I'm no luthier and depend heavily on folks who've already done this sort of thing to keep from screwing it up too badly.
Unfretted.com (Jahloon's famous site) has several DIY articles, including the one I mostly used (courtesy of Emre Meydan) to get this project accomplished. I also sought and received advice directly at the gtroblq.com forums.
I decided to post my photo journal of the process (complete photos without commentary available here), so that I might offer my own personal experiences with this relatively easy project.
BTW, I've been playing fretless now for just over a day and I love it. If you're a guitar playing veteran of many years like me, I recommend giving it a try. (Beginners might be a little more frustrated; I recommend starting on a fretted guitar or doing both at the same time).

1. Heat up the fret with a soldering iron, carefully. I would do this until I saw glue seep out from beneath the fret.

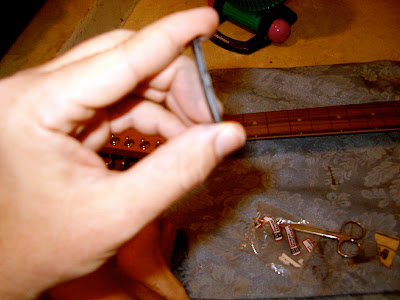
2. Use fret pullers to gently remove the fret, starting at one end of a fret and working all the way to the other end. I experienced no significant chipping by doing this slowly, after heating each fret well.
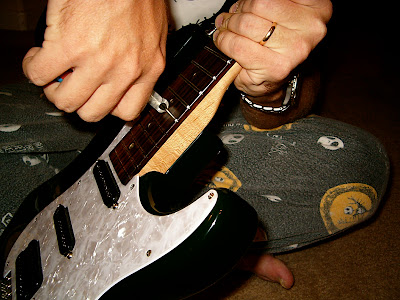
Close-up view of fret removal.

3. Defret complete!! That part was pretty easy.

So long, frets!!!
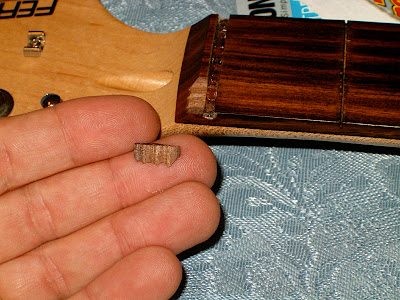

4. I used links provided by Chris Shaffer to explain how to remove the nut. Here was my first (and really only) problem. When I attempted to gently tap out the cheap, plastic nut, it broke into 3 pieces, and I chipped a small piece of rosewood out of the nut slot! Oops! Fortunately, the piece of rosewood was in one chunk which fit perfectly back in its place, and I had also bought a new graphite nut from Stewart-MacDonald!

Enter the 2-ton, 60-min Epoxy! Not only would I use it to repair the nut slot, but I would also use it to fill the fret slots too!

The new graphite nut I bought from Stewart-MacDonald (bought mainly to aid sustain but now quite necessary to finish the job, considering the original, broken nut)!

5. Mixing the epoxy THOROUGHLY! I should add that I used a razor to clean out the fret slots before proceeding!

6. Using toothpicks to apply epoxy to the slots. This took a while, and I ensured a good application by running the tip of the toothpick along the slot until the epoxy flowed in and along it completely. I eventually used a styrofoam plate to prepare my epoxy (to keep from using old epoxy in subsequent slots).
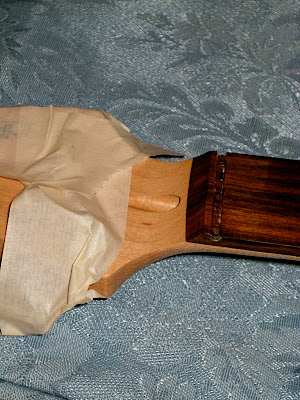
7. The chipped nut slot glued back together without any problems using the epoxy!
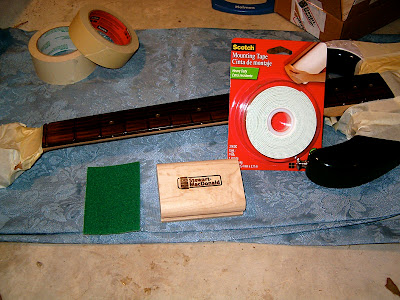
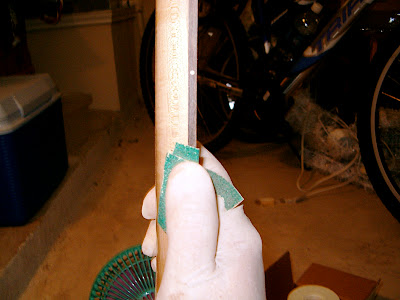
8. Guitar is taped up and fretboard ready for sanding, using grades of sandpaper from 80 to 320 or so. Note the 14" radius block purchased from Stewart-MacDonald and the double-sided tape.

9. Sanding was the toughest part. First, I used the rough sandpaper (80) to remove all traces of excess epoxy. Once I could no longer see any epoxy, I progressed through the grades of sandpaper systematically, ensuring a smooth finish.

Wear gloves and other protection, because rosewood dust can be irritating.

Progress! (Please be okay, strat!)
I also sanded the sides of the neck too, to remove excess epoxy.

Sanding the outside of the nut slot made it hard to tell it had ever chipped.

Voila! Sanding complete! It's a fretless!

10. I removed all the protective masking tape and cleaned up all the rosewood dust (using a vacuum cleaner)! Next, I sanded down the bottom of the new graphite nut, and I lightly sanded the interior of the nut slot to remove any old glue. Then I installed the new nut and new roundwound strings (I didn't glue the nut in this time...I want to be sure it was not too high before gluing it). When I glue it with the next string change, I'll use a few drops of regular wood glue (so that I can remove it again easily if ever necessary).
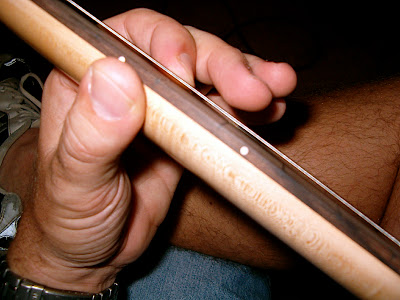
Playing my new fretless! It was love at first touch and first sound!
UPDATE: Here's a sample of what it sounds like!